
Last updated August 26, 2026
Free visual inspection and a written scope of work before any mitigation begins - photos, moisture readings, and drying logs go in your claim file
The scope we write is the scope we bill. Anything new gets shown to you, in writing, before we touch it.
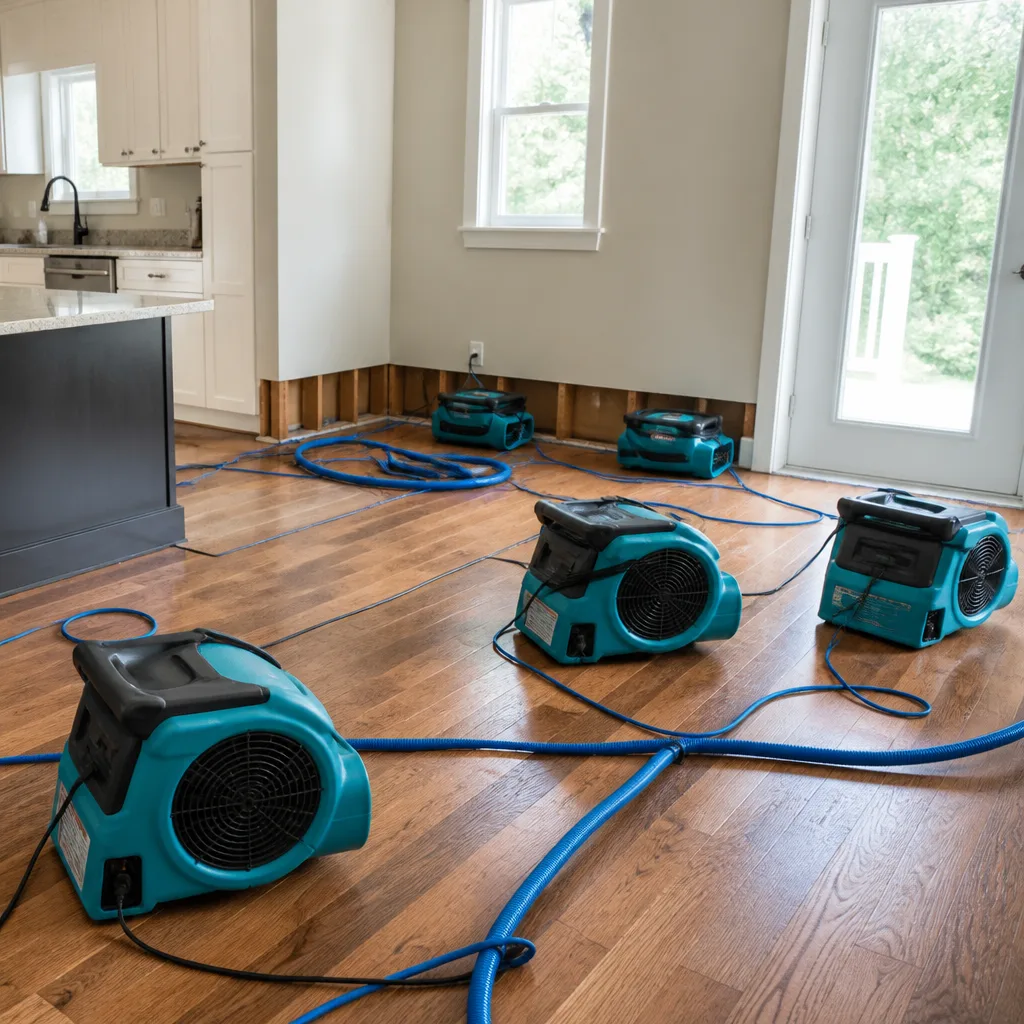

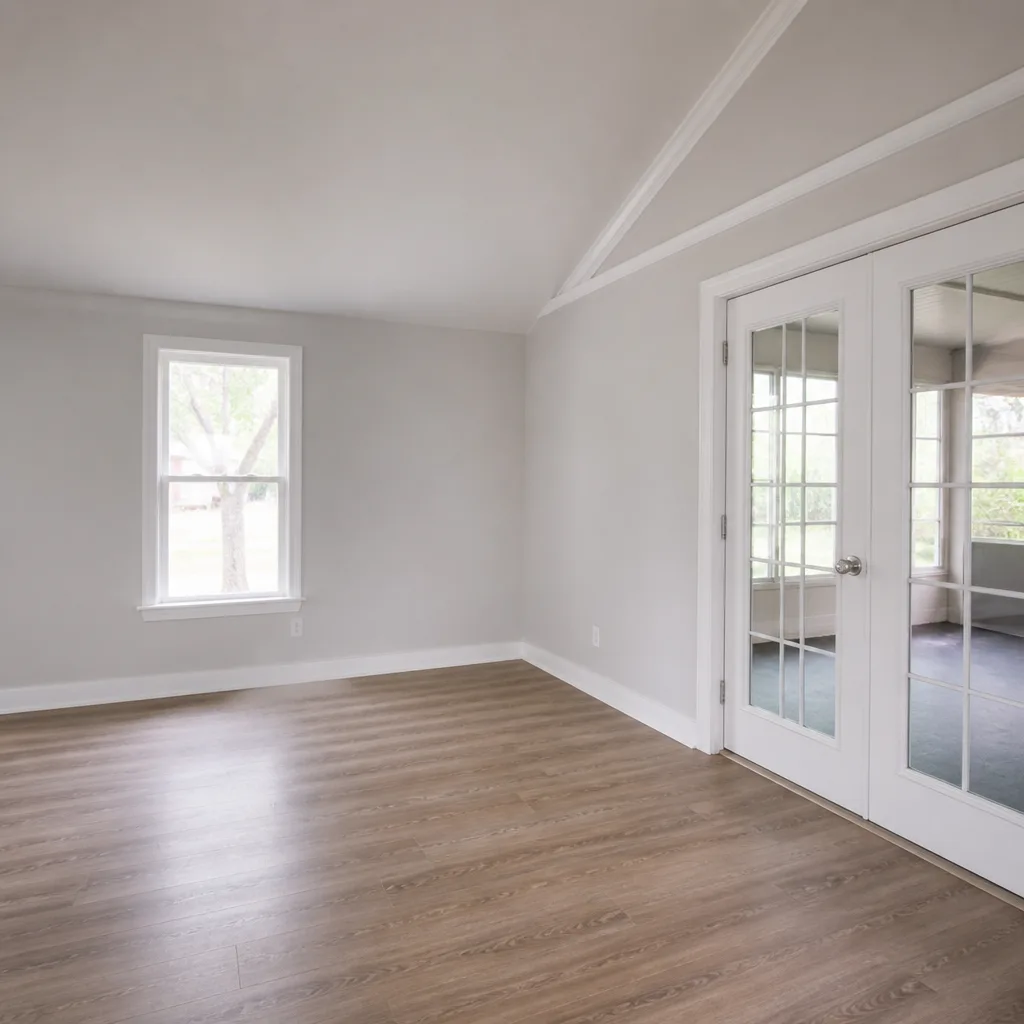

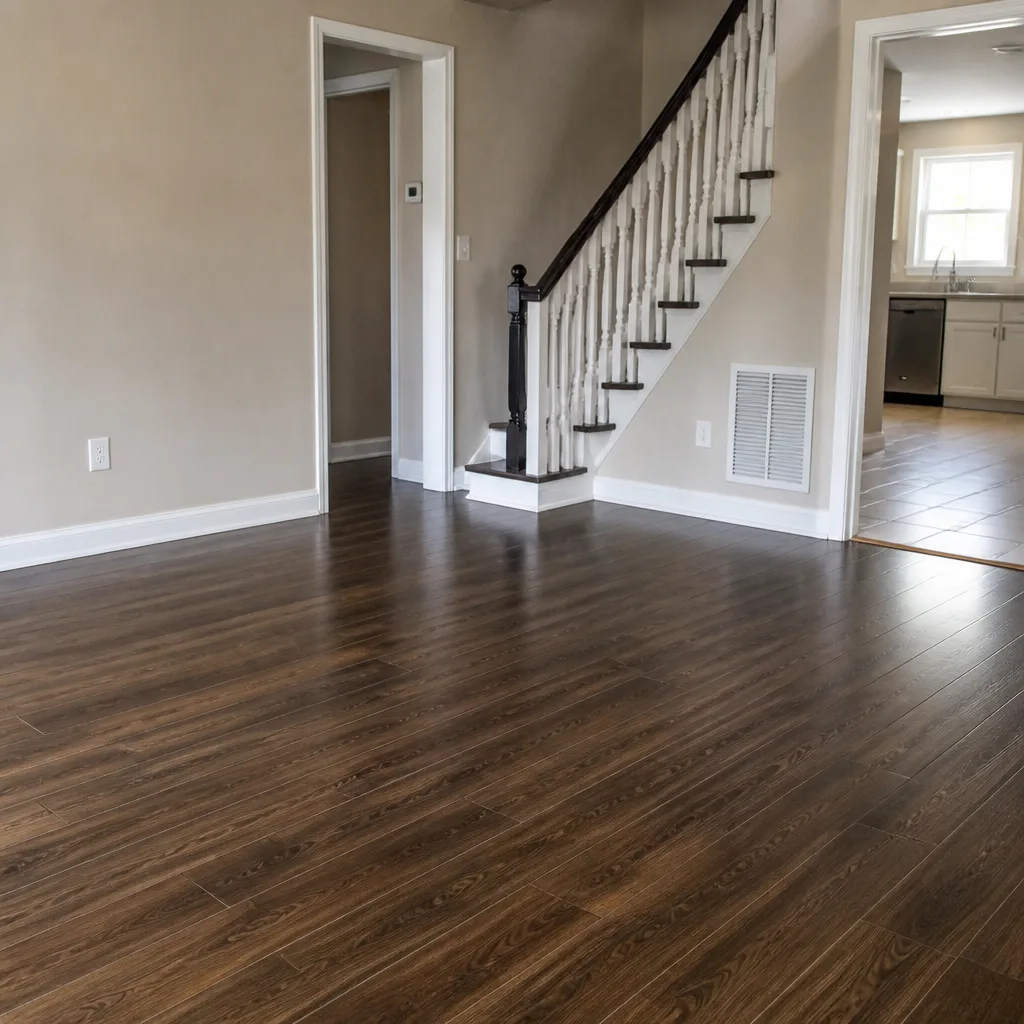

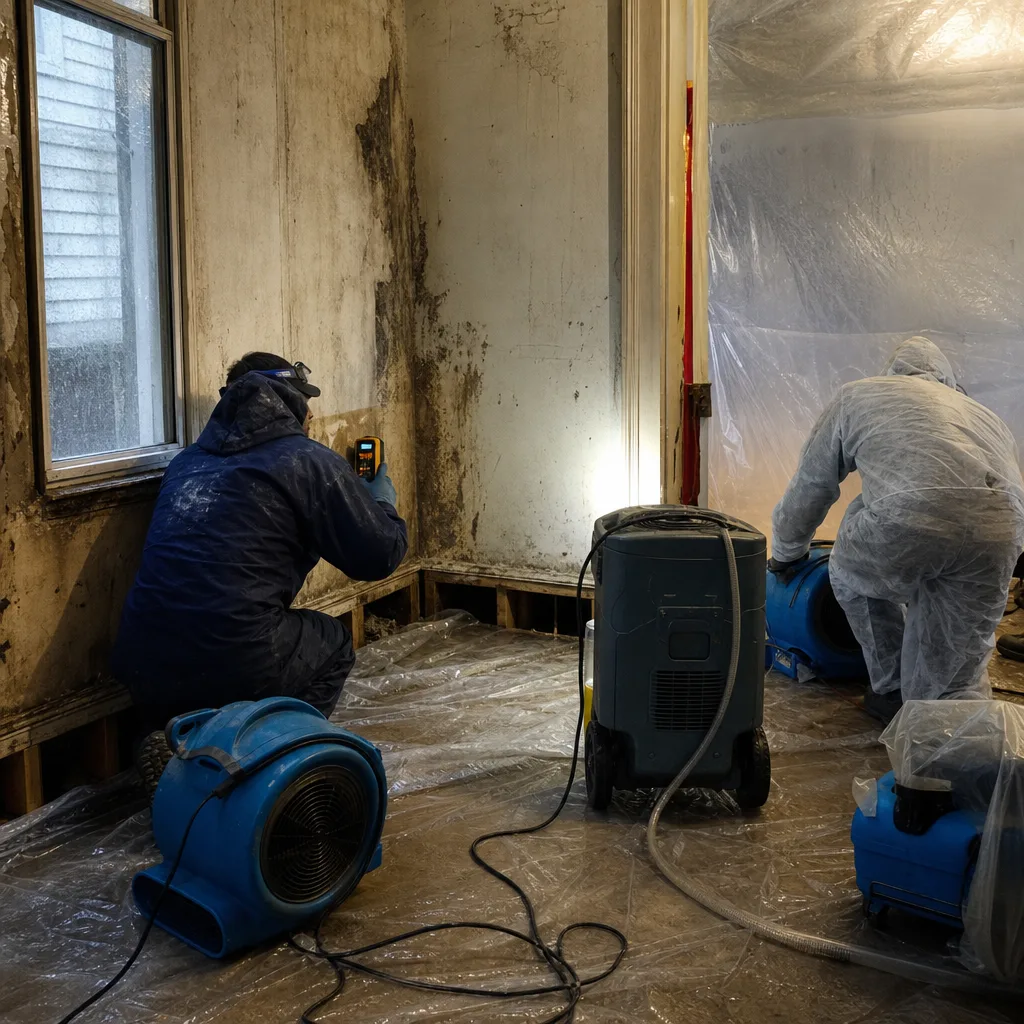 Before
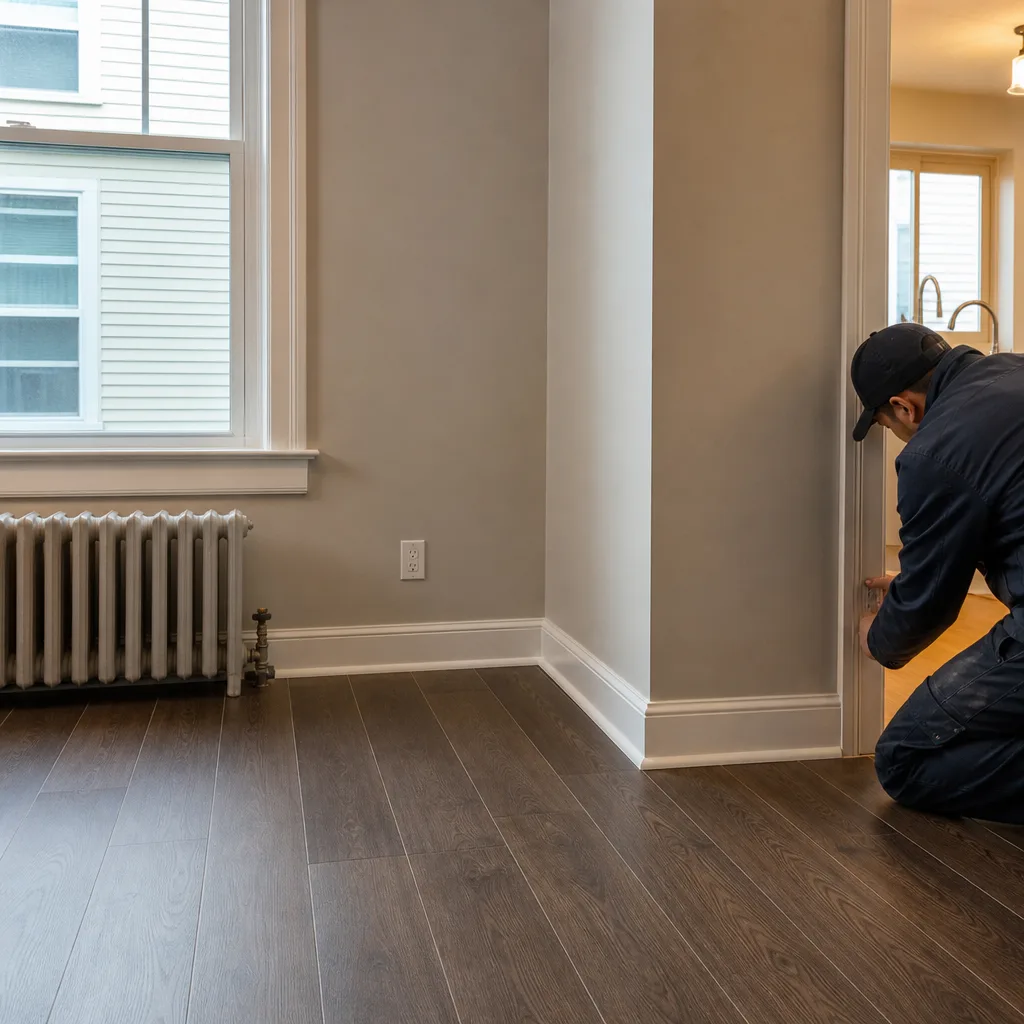 After
After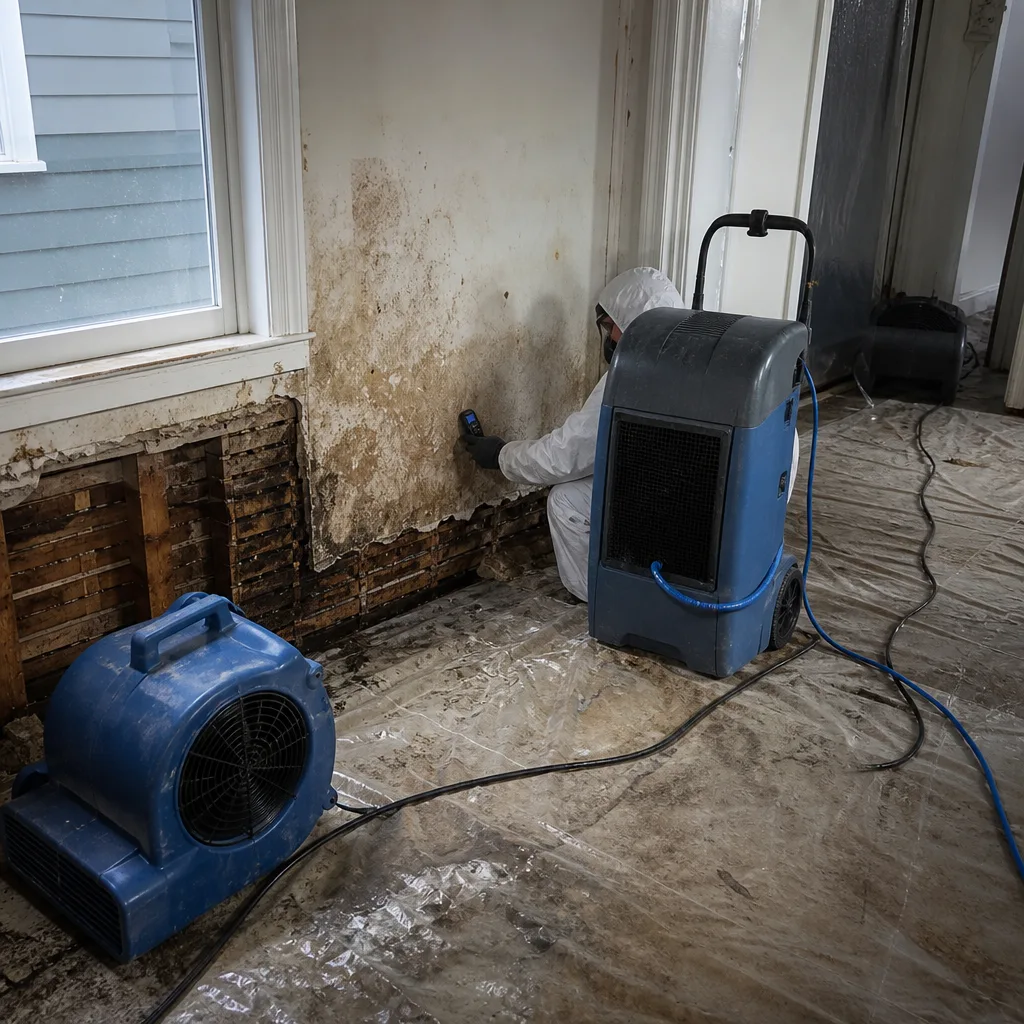 Before
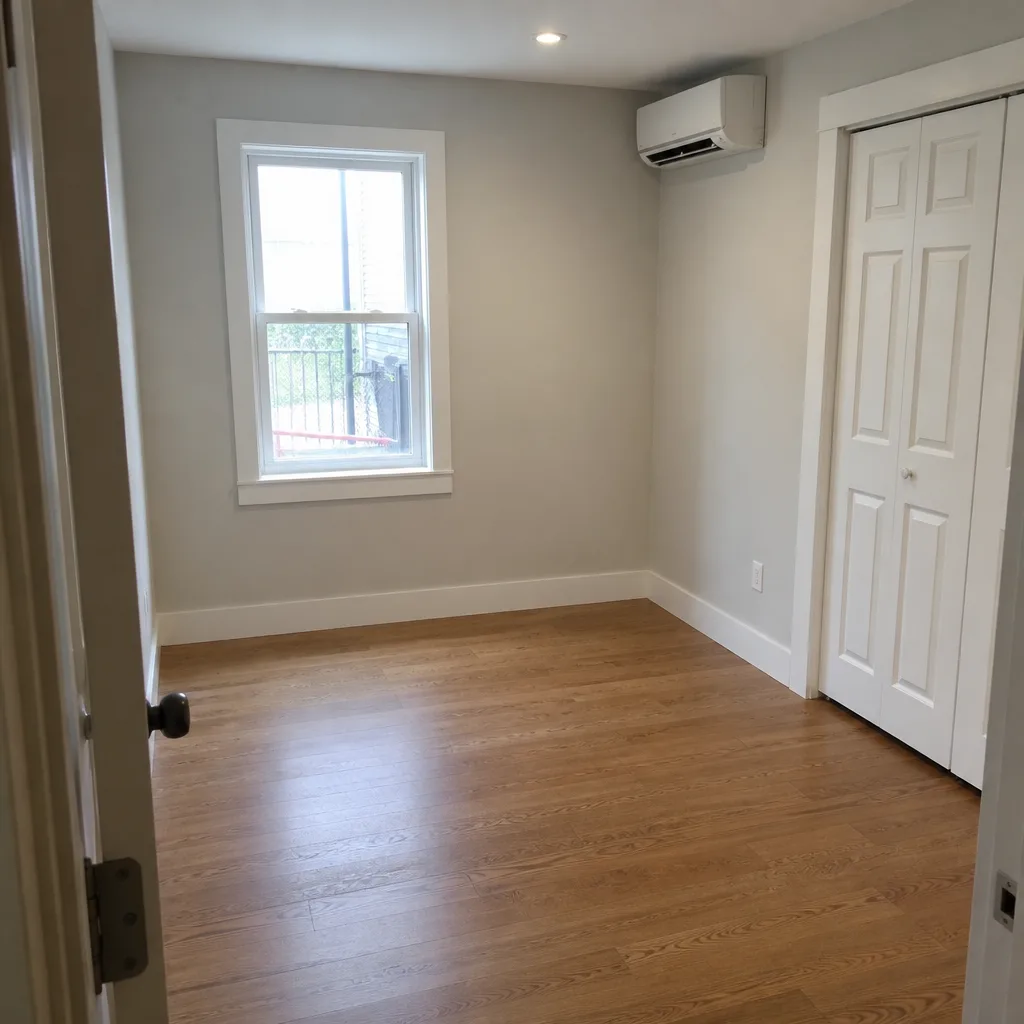 After
After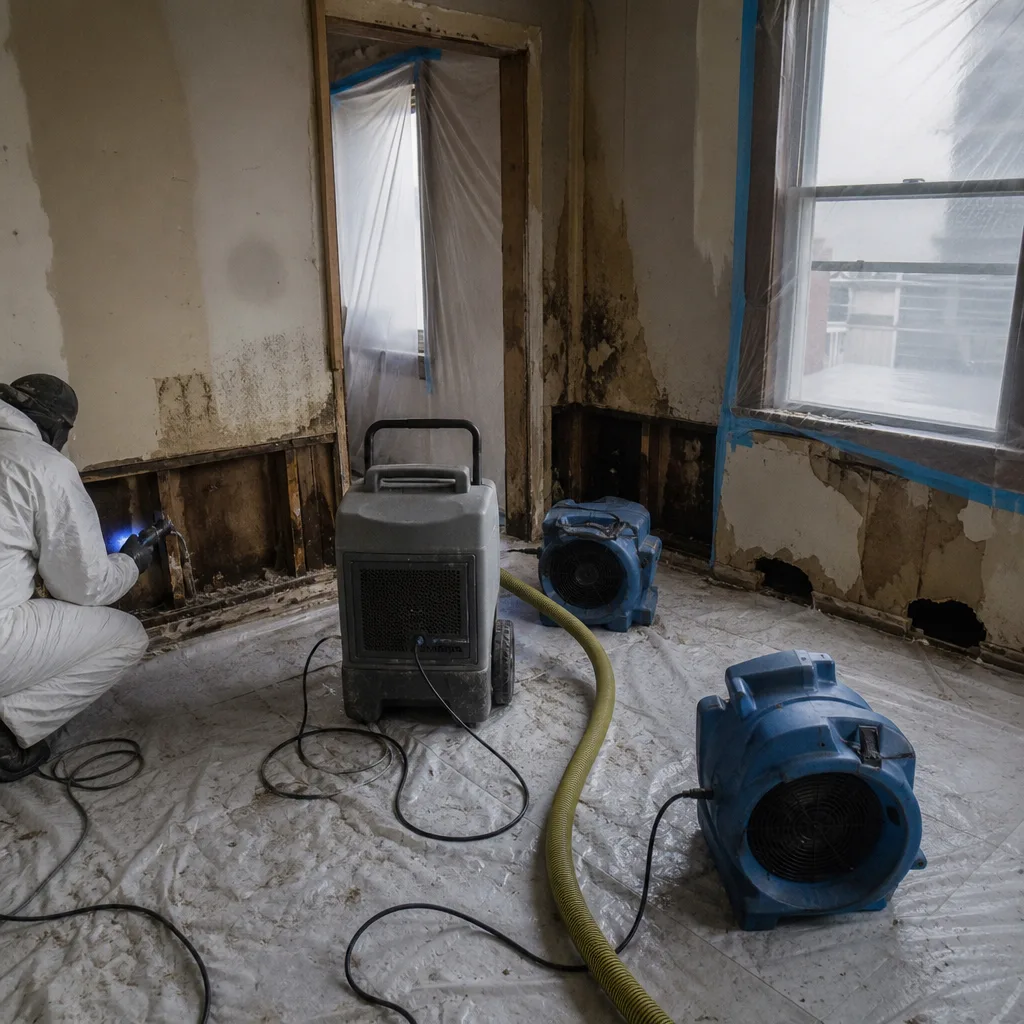 Before
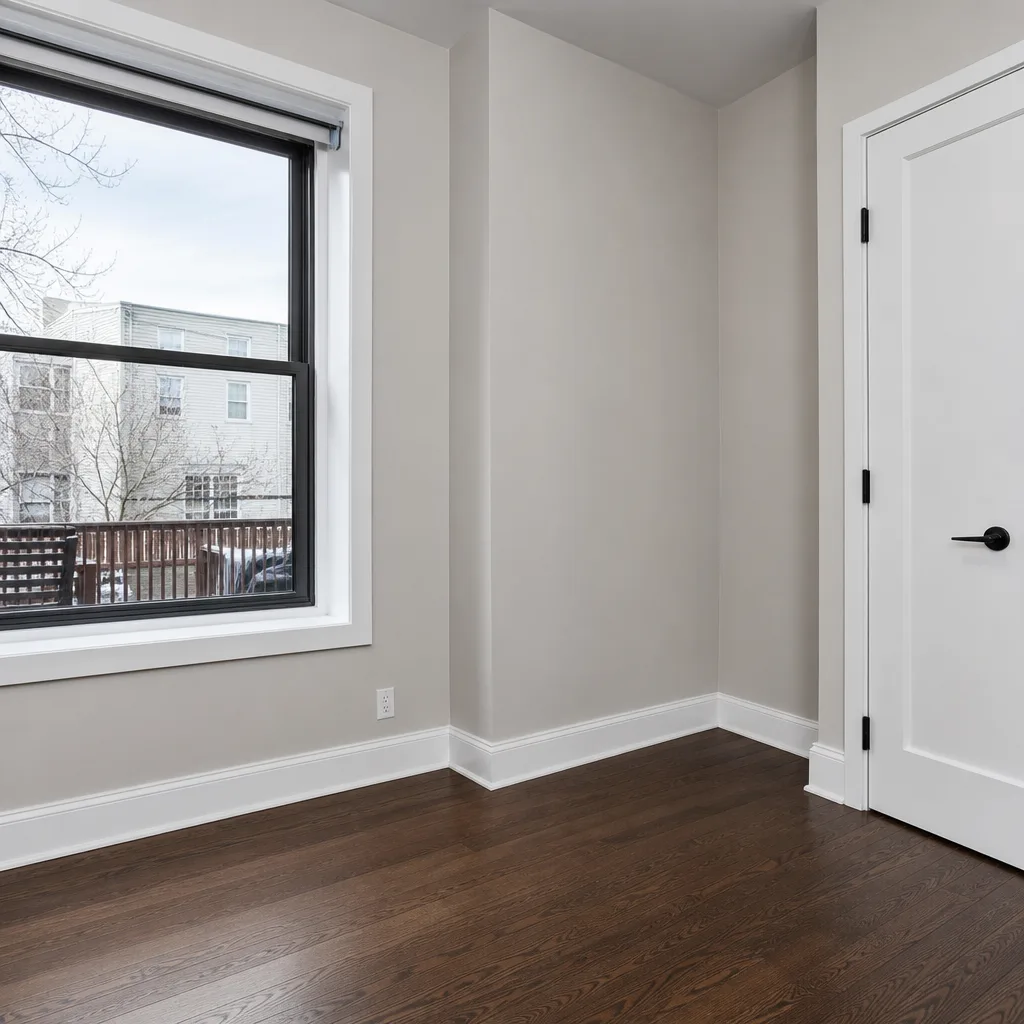 After
AfterWater Damage Restoration Maintenance Checklist for Astoria Homeowners
Here’s a number that should make every Astoria homeowner pause: the majority of water damage claims we walk into did not start with a dramatic pipe burst or a river overflowing. They started with something small, silent, and completely preventable. A flat roof drain that had been clogged for two seasons. A backwater valve that had never been tested. A garden-hose spigot that froze and cracked behind the wall in January. Since 2007, Wade Ferris has been inside hundreds of Astoria basements, garden-level units, and fourth-floor apartments, and the same handful of failures keep showing up. None of them are on the generic maintenance checklists written for suburban ranch houses in Ohio. This guide is the checklist for where you actually live: attached rowhouses, flat TPO roofs, below-grade garden units, and a combined sewer system that backs up into basements when the nor’easters hit.
Quick Answer
The highest-return water damage prevention tasks for Astoria homeowners are inspecting flat roof drains and scuppers twice a year, testing the backwater valve before storm season, clearing window wells and areaways of leaves, and reading the water meter monthly to catch slow internal leaks. Do these four things on schedule and you eliminate most of the water damage we see in this neighborhood. None requires a contractor, and all four together take less than two hours a season.
Table of Contents
- Flat Roof Drains and Scuppers: The Astoria-Specific Task Most Guides Skip
- How to Check Your Backwater Valve (And Why It’s the Highest-ROI Task You Can Do)
- Window Wells and Areaways: Drainage for Below-Grade Units
- Reading Your Water Meter for Slow Internal Leaks
- A Seasonal Maintenance Calendar That Matches Astoria’s Actual Weather
- Inside the Home: Supply Lines, Appliances, and Hidden Leak Points
- Common Mistakes to Avoid
- When to Call a Professional
- Frequently Asked Questions
- The Bottom Line
Flat Roof Drains and Scuppers: The Astoria-Specific Task Most Guides Skip
Most water damage prevention content assumes you have a pitched shingle roof with gutters and downspouts. A lot of Astoria doesn’t work that way. The rowhouses and attached multi-family buildings that make up so much of this neighborhood were built with flat roofs, many of them now covered with TPO membrane. These roofs shed water through internal drains, external scuppers, or both. When those drains clog, water doesn’t roll off the roof. It ponds. And ponding water on a flat roof finds seams, flashing gaps, and old patch jobs. It gets into the top-floor ceiling, then the walls, then the floor below. By the time you see a stain on the ceiling, water has usually been traveling for weeks.
The fix is simple and costs nothing but time. Twice a year, in late October and late March, go up to the roof or send someone who can safely access it. Walk the perimeter. Look at every drain. Clear out leaves, plastic bags, pigeon debris, and the sediment that collects around the drain collar. Scuppers, those rectangular openings at the parapet edge, clog just as easily. If you can’t reach the roof yourself, look up from the street after a heavy rain. You should see water streaming from the scupper openings. If the scuppers are dry while rain is still running off other parts of the roof, something is blocked.
One more Astoria-specific note: attached buildings share roof drainage. If your neighbor’s section of roof drains onto yours, or if a shared drain serves multiple addresses, a clog in their section is your water damage problem too. Coordinating with the adjoining owner, or at minimum checking the shared drain after every major leaf drop, prevents a headache that insurance adjusters see constantly. If you need a pro to inspect your ceiling after a leak, our water damage restoration team in Astoria handles roof-to-ceiling water intrusion regularly.
How to Check Your Backwater Valve (And Why It’s the Highest-ROI Task You Can Do)
Astoria sits on a combined sewer system, which means stormwater and sanitary sewage share the same pipes. When a heavy nor’easter or summer downpour overwhelms the system, the water has nowhere to go but back up the lateral line into the lowest drain in your house. Usually that’s the basement floor drain, the laundry sink, or a first-floor toilet. The device that prevents this is a backwater valve, also called a backflow preventer or check valve. If your house has one, and many Astoria homes built after the 1960s do, it is the single most valuable piece of water damage protection on the property. But it only works if it’s clean and functioning.
Here’s how to check it in under 30 minutes:
- Find the valve. It’s usually in the basement floor near the main sewer line exit, under a round metal cover. Sometimes it’s in a pit with a sump pump.
- Remove the cover carefully. You’re looking at the top of the valve body. There will be a cleanout plug or access cap.
- Unscrew the cap slowly. If water is sitting in the line above the valve, it’ll spill out. That’s normal and tells you the valve is holding water back.
- Reach in (use gloves) and feel around the flapper or gate. It should swing freely. Grease, sludge, hair, and the inevitable “flushable” wipe build up on the hinge and stop the gate from closing fully.
- Clean the hinge area with a scrub brush and hose water. Reinstall the cap. If the flapper is cracked, warped, or worn, replace it. Valves are sold at local plumbing supply houses, and the replacement is a 20-minute job.
- If you don’t have a backwater valve at all, get a plumber to install one. It is cheaper than a Category 3 sewage backup cleanup. We know because we get the call after the valve wasn’t there.
Wade’s crew has seen the aftermath of many backups in Astoria basements. The sewage line backs up, the floor drain overflows, and within hours you have contaminated water wicking up drywall and into stored belongings. That’s a Category 3 loss, and it requires full professional water damage restoration, not a mop and a fan. Test your valve in October before the winter storm season and again in March. Mark it on the calendar. It’s the best hour of insurance you’ll buy all year.
Window Wells and Areaways: Drainage for Below-Grade Units
Astoria has thousands of below-grade and garden-level apartments. These units have windows at or below sidewalk level, usually seated in window wells or concrete areaways with a drain at the bottom. That drain is the only thing standing between a heavy rain and water pouring through the window frame into the apartment. The problem: leaves, dirt, plastic wrappers, and dead insects collect in those drains faster than anywhere else on the property, because the well is essentially a leaf trap. Generic checklists ignore below-grade units entirely. If you own or rent one, this is your first priority before every rainy season.
Here’s the maintenance sequence we recommend for every window well and areaway in Astoria:
- Clear the well of all debris. Get down to the bare concrete or gravel at the bottom. This is messy work. Wear gloves. A shop vacuum makes it faster.
- Locate the drain opening. It’s usually a 2- to 3-inch pipe in the corner or center of the floor. Poke a straightened coat hanger or screwdriver into it. If it feels blocked, keep working until you feel it open up. If water is standing in the well after a rain, the drain is clogged or the pipe is broken.
- Pour a gallon of water directly into the drain. It should disappear within seconds. Slow draining means a partial clog further down. If it doesn’t drain at all, snake it or call a plumber before the next storm.
- Check the window frame. Press your finger into the wood or caulk around the frame. If it’s soft, cracking, or pulling away, water has been getting in. Reseal with a quality exterior caulk rated for wet locations.
- If the well has no drain at all, install a clear polycarbonate cover over the well. This diverts most rainwater and keeps leaves out. Leave a small gap at the edge for emergency egress if the window is a bedroom escape route.
We’ve seen garden-level Astoria apartments flood from a single clogged areaway drain during an ordinary summer thunderstorm. Four inches of standing water in the well means water pressure against the window. Window frames are not waterproof. They leak. The damage spreads under the flooring and into the wall cavity. Fifteen minutes of maintenance in October prevents it.
Reading Your Water Meter for Slow Internal Leaks
Every water damage checklist tells you to “check for leaks.” Almost none tell you how to actually find a slow leak that hasn’t shown itself yet. The water meter is the tool. And the method is so simple it feels like cheating. Here’s how to do it in Astoria, where most homes have a meter in the basement or in a sidewalk vault out front.
The test: pick a time when no one in the house will use water for at least two hours. Before you start, note the exact reading on the meter, including the small dial or the last digit on the digital display. Do not run water, flush a toilet, run a dishwasher, or use an ice maker during the test window. After two hours, check the reading again. If it moved at all, you have a leak somewhere behind a wall, under a floor, or in a toilet tank that never finishes filling.
This catches the leaks that cause the worst damage: the pinhole in a copper supply line behind the kitchen cabinet, the cracked toilet supply line under the bathroom floor, the slow drip from a water heater nipple connection. These leaks can run for months before you see a stain, because the water is traveling inside a wall cavity or soaking into the subfloor. By the time you notice, the damage is a full-scale restoration job, not a plumbing repair. If you find meter movement, shut off the main water valve and start investigating. Toilets with running flappers are the most common culprit. After toilets, check under sinks and behind the washing machine. If the meter moves with the main shut off, the leak is on the service line between the street and the house, and that’s a different, bigger conversation.
Run the meter test once a month. Ten minutes. This one habit catches leaks at the $200 repair stage instead of the $12,000 restoration stage. And if you do catch one late, call us. Water damage restoration in Astoria is what we do, and we document every moisture reading from the first day.
A Seasonal Maintenance Calendar That Matches Astoria’s Actual Weather
Generic guides use the four seasons: fall, winter, spring, summer. Astoria weather doesn’t follow a tidy calendar. The real risk periods here are the October-December nor’easter window, the January-February freeze cycle, the March-April thaw and rain season, and the July-August thunderstorm flash-flood season. Here’s the maintenance schedule we follow for the homes we work on in this neighborhood. Adjust the months around what the sky is actually doing.
- October (before the first big coastal storm): Clear all roof drains and scuppers. Clean gutters if you have them. Test the backwater valve. Clear window wells and areaways. Disconnect exterior hoses and shut off hose bibs from inside. Test the sump pump by pouring water into the pit until the float activates.
- November (leaves down, storms coming): Repeat the roof drain check. After leaf drop, one windstorm can reclog everything. Check the water meter with the two-hour test. Inspect basement walls for any new efflorescence or damp spots. Make sure downspouts discharge at least four feet from the foundation.
- December through February (freeze risk): Keep the house above 55 degrees even when vacant. Open cabinet doors under kitchen and bathroom sinks on the coldest nights. Know where the main water shutoff is. If you go away for a week, shut off the water and drain the pipes, or have someone check on the house. A frozen pipe doesn’t leak until it thaws. The thaw is when the damage starts.
- March (thaw and spring rains): Test the backwater valve again. Clear any remaining ice from the areaway drains. Check the roof drains after the snowmelt. Run the meter test. Inspect window wells for damage from snow and ice. Look at the ceilings below the roof for any new water staining.
- July (thunderstorm season): Check that the sump pump still cycles properly. After any downpour over an inch, look at the basement floor for seepage. Run a dehumidifier in the basement through the humid months. Check window well drains again. The summer thunderstorm is the most underrated water damage event in Astoria. They drop an inch of rain in 20 minutes, and the combined sewer system simply can’t keep up.
If remembering all this feels like a lot, pick the two highest-impact seasons: October and March. Do the full checklist in those two months, every year, and you’ll catch the vast majority of what goes wrong. Set a phone reminder with the simple titles: “October: drains, valve, hose bibs” and “March: drains, valve, thaw check.”
Inside the Home: Supply Lines, Appliances, and Hidden Leak Points
After the exterior systems, most remaining water damage comes from what’s already inside the walls. Here are the specific things we look at when we walk through an Astoria home after a loss, and the ones you should check before the loss happens.
Washing machine hoses. The rubber supply hoses behind your washer have a lifespan. They dry out, crack at the connection points, and eventually burst. When they burst, they discharge about 650 gallons per hour until someone shuts the water off. If your hoses are more than five years old, replace them now with braided stainless steel. The difference in cost is about $30. The difference in damage is enormous. If you live on an upper floor of an Astoria walkup, a burst washer hose is a multi-floor insurance claim. Your downstairs neighbor’s ceiling is your responsibility.
Water heater. In Astoria, many water heaters live in basements on concrete floors, which is good. But some are in closets, kitchens, or upper-floor utility rooms, which is bad when they rust through. Check the drain pan under the water heater. If it’s full of water or rust flakes, the tank is seeping. Check the temperature and pressure relief valve pipe. It should be dry. If it drips, the valve is failing or the tank pressure is too high. Ten-year-old water heaters are on borrowed time. It’s cheaper to replace one before it fails than to restore two floors of a house after it lets go.
Ice maker and dishwasher supply lines. The thin copper or plastic lines that feed ice makers and dishwashers are in the same category as washing machine hoses: constant water pressure, hidden location, no warning before failure. Look under the kitchen sink at the shutoff valves. They should turn freely. If they’re seized, replace the valve. A seized shutoff valve turns a small leak into a flood because you can’t turn the water off when you find the problem.
Bathroom caulk and grout. Tile and grout are not waterproof. The waterproofing lives behind the tile. When grout and caulk develop cracks, shower water gets behind the wall every time someone showers. Over months, that water rots the wall cavity, the subfloor, and the ceiling below. Recaulk the seams between tile and tub, tile and floor, and tile and wall every two years. Regrout cracked joints as soon as they appear. If the caulk squeezes out dark, soft, or has a musty smell, the water has already gotten behind it. Mold remediation in Astoria often starts with a shower pan that slowly leaked through the caulk line for two years.
Toilet supply lines and tank bolts. The small braided line between the wall valve and the toilet tank can fail at the crimped fitting. Wiggle it gently. If there’s any play, replace it. Also check the floor around the toilet for softness or discoloration. A wobbly toilet means the wax ring is failing and water has been escaping around the flange for a while. When the toilet is removed, the subfloor underneath is usually in bad shape by that point.
Common Mistakes to Avoid
- Waiting until a stain appears to investigate. Water travels sideways inside walls and floors. The place where the stain appears is often several feet from the source. By the time you see a ceiling stain in an Astoria rowhouse, the water has usually been moving through the joist cavities for weeks. Investigate meter movement, not just visible stains.
- Assuming a flat roof drain is fine because the roof was “recently replaced.” A new TPO membrane does nothing if the drain clogs. Water ponds, finds a seam, and penetrates. Roof condition and drain condition are separate maintenance items.
- Using a home dehumidifier from the hardware store to dry out a flooded basement. A flooded basement needs professional-grade air movers and dehumidification equipment from companies like Dri-Eaz and Phoenix, not the $200 machine from the big-box store. Store-bought dehumidifiers remove a small fraction of what a flooded room needs. The wall cavities and underfloor spaces stay wet, and mold follows. This is the most common DIY mistake we see in Astoria basements.
- Ignoring the backwater valve because it “hasn’t been a problem.” Sewer backups are not predictable by personal history. They’re predicted by rainfall intensity and system capacity. One bad storm is all it takes. Test it twice a year, every year.
- Pouring bleach on visible mold. Bleach kills surface mold on non-porous surfaces only. Mold growing into drywall, wood, or carpet needs removal, not surface treatment. An IICRC-standard remediation, done by someone who knows the protocol, deals with the moisture source and the actual contamination. Bleach gives you a false sense of safety while the mold keeps growing in the wall cavity. Our mold remediation approach in Astoria follows the industry protocols set by IICRC and RIA.
- Filing an insurance claim without documenting anything. Before you move a single wet box, take photos. Every room, every angle, the water line on the wall, the wet drywall, the damp carpet. Your adjuster needs this. We deal with adjusters directly and walk them through the documentation. The photos taken in the first hour are the evidence that decides the claim.
- Turning off the heat in a vacant Astoria apartment in winter. Empty units still have water in the pipes. A cold snap in a vacant garden-level unit guarantees frozen pipes, and frozen pipes guarantee a flooded apartment and a call to the Wade’s Restoration home team when the thaw comes. Keep heat at 55 degrees minimum.
When to Call a Professional
Some water problems are maintenance tasks you can handle with a screwdriver and an hour. Others need equipment and experience that most homeowners don’t have. Call a professional when water has touched drywall, insulation, finished floors, or anything electrical. Call when the water source is sewage, because that’s a biohazard requiring specific PPE and disposal protocols. Call when the water has been sitting for more than 24 hours, because microbial growth starts before the surface is dry. Call when your insurance company asks for documentation and a scope of loss, because a restoration contractor who works with adjusters daily gets better outcomes than a homeowner walking through the process alone. Wade’s Restoration offers free estimates in Astoria - call (363) 208-1526 and Wade will answer the phone himself, usually within a couple of rings. He’s been doing this in Astoria since 2007, and he’ll tell you straight whether you need a full restoration or just a good drying plan and some patience.
Frequently Asked Questions
Twice a year, in late October before the nor’easter season and again in late March after the winter thaw, with additional checks after any major leaf drop or windstorm. Flat roof drains in Astoria clog with leaves, pigeon debris, and sediment that standard residential gutter guides never address.
In our experience, failed backwater valves or absent backwater valves during combined sewer overflows are the most common cause of basement flooding in Astoria, followed closely by clogged roof drains that send water down the interior walls. Both are preventable with seasonal attention.
Run a two-hour water meter test when no water is being used. If the meter moves, you have a leak somewhere. A slow pinhole leak in a copper supply line can run for months before it shows as a stain, and by then the wall cavity is saturated and mold is growing. Call (363) 208-1526 if you need a moisture assessment.
It depends on your policy and whether you have sewer backup coverage. Many standard policies exclude or limit sewer backup unless you’ve added a specific endorsement. Photograph everything before you move anything, and have your restoration contractor communicate directly with the adjuster. We handle that for you in Astoria.
Water damage generally means water from inside your plumbing, appliances, or roof. Flood damage means water rising from outside, like a river overflowing or a storm surge. Flood insurance is a separate policy through the NFIP. Most Astoria basement backups are sewer backups, which are a third category altogether. Check your policy language carefully before you assume coverage.
Wade Ferris answers his own phone at (363) 208-1526, 24 hours a day. He can typically have extraction equipment running inside the hour for an active water loss in Astoria. The faster water is extracted and drying starts, the less damage and the lower the restoration cost. Don’t wait for business hours.
The Bottom Line
Water damage in Astoria is not a random event. It follows patterns. The flat roof drains clog. The backwater valve fails when the combined sewer overtops. The below-grade areaway drain packs with leaves. The washing machine hose bursts at 3 a.m. The slow copper leak finally soaks through the ceiling. Most of this is catchable before it becomes a restoration bill. The checklist above is the maintenance routine Wade Ferris would tell any neighbor over a fence: test the meter, clean the drains, check the valve, replace the old hoses, recaulk the shower, keep the house warm in winter. Do it in October and March, every year. And when something does go wrong, you know who to call. Water damage restoration in Astoria, mold remediation, and fire and smoke damage restoration are what we do. One call to (363) 208-1526 brings Wade to your door, moisture meter in hand, with a written scope and a promise that if it’s not done right, he makes it right.
Written by Wade Ferris, Owner at Wade’s Restoration, serving Astoria since 2007.